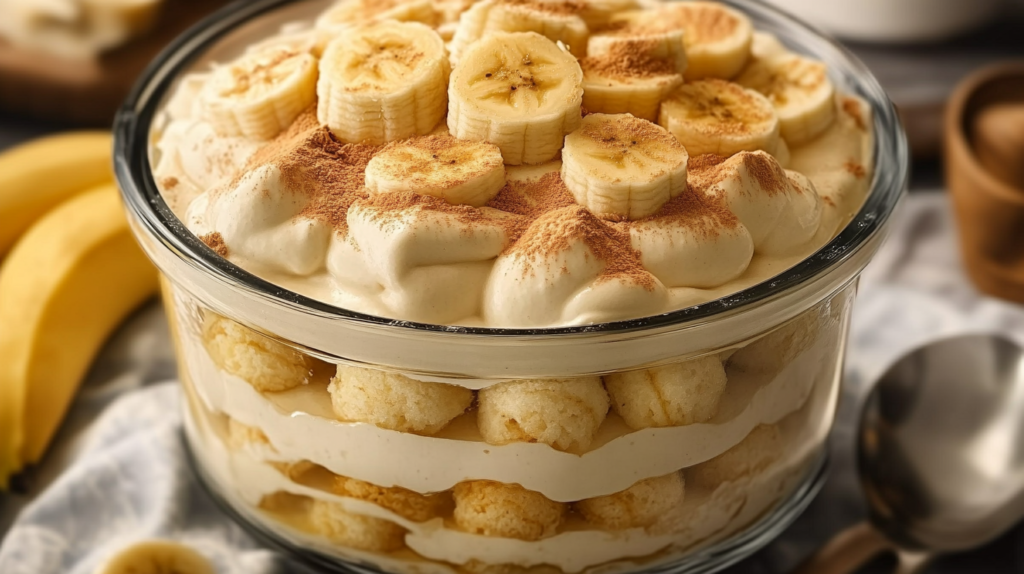
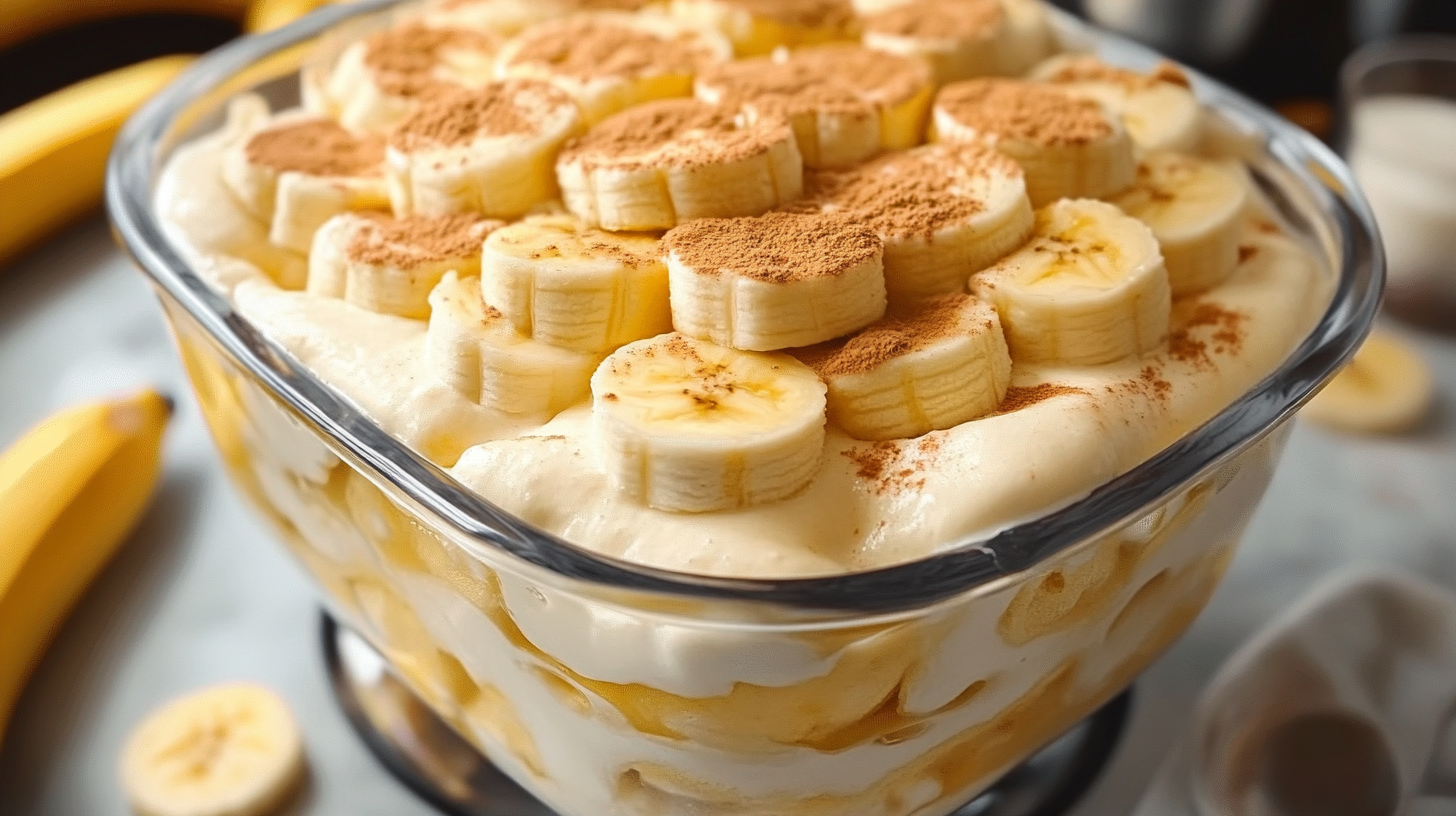
Banana pudding is a cherished Southern dessert that’s as comforting as it is delicious. With layers of creamy vanilla custard, fresh bananas, and vanilla wafers, this dessert has a unique blend of textures and flavors that make it irresistible. Though simple to make, perfecting banana pudding requires just the right balance of ingredients and a few helpful techniques. In this guide, we’ll take you through everything you need to know, from its rich history to creating the perfect custard. Let’s start with a look at what makes this dessert so special.
The History of Banana Pudding
Origins and Evolution
Banana pudding has roots that trace back to the late 19th century, when bananas became widely available in the United States. Originally inspired by traditional English trifles, the dessert quickly became a staple in Southern kitchens, evolving into its own unique treat.
Cultural Significance in the South
Banana pudding is more than just a dessert in the South—it’s a symbol of gatherings, family, and comfort. From church potlucks to family reunions, this dessert has earned its place in Southern culture, bringing people together with its rich, creamy layers.
This background gives us a deeper appreciation for banana pudding’s place in American cuisine. Next, let’s explore the essential ingredients that make this dessert so delicious and memorable.
Ingredients Needed for Banana Pudding
Creating the perfect banana pudding starts with selecting quality ingredients that bring flavor and texture to each layer. Here’s a look at the essentials.
Essential Components
- Bananas: Choose ripe but firm bananas. They should be yellow with a few brown spots, as overly ripe bananas can become mushy in the pudding.
- Vanilla Custard: Traditionally, banana pudding features a homemade vanilla custard, though some recipes use instant vanilla pudding for convenience. Custard adds a rich, creamy texture that’s essential for an authentic banana pudding.
- Vanilla Wafers: These classic cookies add a slight crunch and soak up the custard as they sit, creating a soft, cake-like layer that complements the bananas. Nilla Wafers are a popular choice, but any vanilla-flavored wafer will work.
- Whipped Cream or Meringue: For the topping, you can use homemade whipped cream or meringue. Whipped cream adds a light, airy touch, while meringue provides a traditional Southern feel.
Variations and Substitutions
- Alternative Cookies: If you’d like to mix things up, try using graham crackers or shortbread cookies in place of vanilla wafers. These alternatives offer a different texture and flavor but still pair well with the custard and bananas.
- Dairy-Free or Vegan Options: For a dairy-free version, use coconut milk or almond milk to make the custard, and replace whipped cream with a coconut-based whipped topping.
- Flavor Additions: To give your banana pudding a twist, try adding a splash of vanilla or almond extract to the custard. A hint of cinnamon or nutmeg also brings extra warmth and depth to the flavor.
These ingredients, along with a few optional variations, will allow you to make a classic or customized banana pudding that’s full of flavor and texture. Now that we’ve covered the ingredients, let’s move on to making banana pudding from scratch with a step-by-step guide.
How to Make Banana Pudding from Scratch
Making banana pudding from scratch is rewarding and surprisingly simple. Here’s a step-by-step guide to crafting a creamy, layered dessert that’s bound to impress.
Step 1: Prepare the Vanilla Custard
- Heat the Milk: In a medium saucepan, heat 2 cups of milk over medium heat until it’s warm but not boiling. This helps prevent the custard from curdling.
- Whisk the Egg Mixture: In a separate bowl, whisk together ¾ cup of sugar, 3 tablespoons of flour, and a pinch of salt. Add 3 large egg yolks, whisking until the mixture is smooth.
- Temper the Eggs: Slowly pour a small amount of the warm milk into the egg mixture while whisking continuously. This gradually raises the temperature of the eggs, preventing them from scrambling.
- Cook the Custard: Pour the tempered egg mixture back into the saucepan with the rest of the milk. Cook over medium heat, stirring constantly, until the mixture thickens enough to coat the back of a spoon, about 5–7 minutes.
- Add Vanilla and Butter: Remove the saucepan from heat and stir in 1 teaspoon of vanilla extract and 2 tablespoons of butter. The butter adds richness and creates a smooth, glossy custard.
- Cool the Custard: Let the custard cool for a few minutes, stirring occasionally to prevent a skin from forming on top. You can cover it with plastic wrap directly on the surface if cooling for a longer period.
Step 2: Assemble the Banana Pudding Layers
- Layer Vanilla Wafers: Spread a single layer of vanilla wafers at the bottom of a 9×13-inch dish or a trifle bowl. This first layer forms the base of the dessert and will absorb the custard.
- Add a Layer of Bananas: Slice 4–5 bananas into ¼-inch rounds and arrange a layer on top of the wafers. Ensure the banana slices are evenly distributed for balanced flavor in each bite.
- Spread the Custard: Pour a portion of the custard over the bananas, spreading it out with a spatula for an even layer. The custard should fully cover the bananas and wafers.
Repeat these layers (wafers, bananas, and custard) until you reach the top of your dish or bowl, ending with a final layer of custard.
Step 3: Add the Topping
- Whipped Cream Option: For a light, creamy topping, whip 1 cup of heavy cream with 2 tablespoons of sugar until soft peaks form. Spread the whipped cream over the final layer of custard.
- Meringue Option: For a classic Southern touch, make a meringue topping by whipping 3 egg whites with ¼ cup sugar until stiff peaks form. Spread the meringue over the custard and bake in a 350°F (175°C) oven for 10–15 minutes until golden brown.
Step 4: Chill and Serve
Once assembled, refrigerate the banana pudding for at least 2–4 hours, or overnight if possible. Chilling allows the flavors to meld and the wafers to soften, resulting in a beautifully layered, cohesive dessert.
With the pudding prepared, you’re now ready to serve up this classic, creamy treat. Next, let’s explore some expert tips for achieving the perfect banana pudding and avoiding common mistakes.
Tips for the Perfect Banana Pudding

Creating a flawless banana pudding is all about paying attention to details. Here are some expert tips to help you make a pudding that’s creamy, balanced, and full of flavor.
Expert Advice for Success
- Choose Firm Bananas: Use ripe yet firm bananas for the best texture. Overripe bananas can become mushy and overly sweet, while underripe bananas may lack flavor.
- Allow Time for Chilling: Banana pudding truly shines after chilling for several hours. This step softens the vanilla wafers, allowing them to meld with the custard, resulting in a dessert that’s cohesive and smooth.
- Even Custard Layering: Spread each layer of custard evenly over the bananas and wafers. This ensures each bite has the perfect balance of custard, banana, and cookie.
Avoiding Common Mistakes
- Preventing Brown Bananas: To slow browning, toss banana slices with a bit of lemon juice before layering. This won’t affect the taste but will keep your pudding looking fresh.
- Don’t Overheat the Custard: Custard can thicken quickly, so keep an eye on it and stir constantly. Overheating can cause it to curdle, resulting in a grainy texture.
- Mind the Sweetness: Banana pudding can become overly sweet if too much sugar is added to the custard or whipped cream. Adjust the sweetness to your preference, keeping in mind that the cookies and bananas also add natural sweetness.
With these tips, your banana pudding will have the ideal balance of flavor and texture, ready to impress at any gathering. Next, let’s explore some popular variations of banana pudding to customize this classic dessert to your taste.
Popular Variations of Banana Pudding
While classic banana pudding is beloved for its simple layers of vanilla custard, bananas, and wafers, there are countless ways to customize this dessert to suit different tastes and dietary needs. Here are some popular variations to try.
Regional Twists
- Southern Banana Pudding: This traditional version often includes a meringue topping instead of whipped cream, baked until the meringue is golden and fluffy. The layers are typically made with homemade custard and fresh bananas, giving it a classic, rich flavor.
- No-Bake Banana Pudding: For a quicker, hassle-free version, use instant vanilla pudding mix instead of homemade custard. Layer with fresh bananas and whipped topping for a lighter, no-bake dessert that comes together in minutes.
- Caramel Banana Pudding: Drizzle caramel sauce between the layers of bananas and custard for a richer, indulgent flavor. Caramel complements the sweetness of bananas beautifully, adding depth to the dessert.
Dietary Adaptations
- Dairy-Free Banana Pudding: Substitute regular milk with almond milk, coconut milk, or oat milk in the custard recipe. Coconut whipped cream can replace traditional whipped cream for a dairy-free option that still has a creamy texture.
- Gluten-Free Banana Pudding: Use gluten-free vanilla wafers or cookies to make this dessert gluten-friendly. Many brands offer gluten-free options that taste similar to classic wafers.
- Sugar-Free Version: For a lower-sugar option, use a sugar substitute in the custard and whipped cream. There are sugar-free vanilla wafer options available, which make it easy to enjoy banana pudding without added sugars.
These variations allow you to enjoy banana pudding in new ways, whether you’re looking for a richer flavor, a lighter version, or options for dietary preferences. Now, let’s address some frequently asked questions to help you perfect this dessert.
Frequently Asked Questions About Banana Pudding
Here are some common questions and answers to ensure your banana pudding turns out perfectly every time.
How Long Does Banana Pudding Last?
Banana pudding can be stored in the refrigerator for up to 3 days. Keep it covered to preserve freshness. Note that over time, the bananas may soften further, and the wafers may become even more cake-like, which some people enjoy.
Can You Freeze Banana Pudding?
Freezing banana pudding is not recommended, as the texture of bananas and custard can change when thawed, leading to a watery or grainy consistency. If you need to store it long-term, consider freezing only the custard, then assembling fresh layers before serving.
What Are Some Topping Alternatives?
While whipped cream and meringue are traditional toppings, you can also use cream cheese frosting or a layer of coconut whipped cream for a unique twist. Adding crumbled vanilla wafers, chopped nuts, or a sprinkle of cinnamon on top can also enhance flavor and texture.
Can I Make Banana Pudding Ahead of Time?
Yes, banana pudding is a great make-ahead dessert, as it benefits from chilling. Prepare and assemble it up to a day in advance, and refrigerate. This allows the flavors to meld, making for a creamier, more cohesive dessert.
With these answers, you’ll be able to create banana pudding with confidence, whether you’re making it for a special occasion or a family gathering.
Conclusion
Banana pudding is a classic dessert that’s as versatile as it is delicious, offering countless ways to personalize its flavors and presentation. Whether you stick to the traditional Southern recipe or try a modern variation, this dessert is sure to bring comfort and joy to the table. By following these tips and exploring the different options, you’re ready to create a creamy, flavorful banana pudding that’s bound to impress. Gather your ingredients, layer your custard and bananas, and enjoy the delightful experience of making and sharing this timeless dessert.

