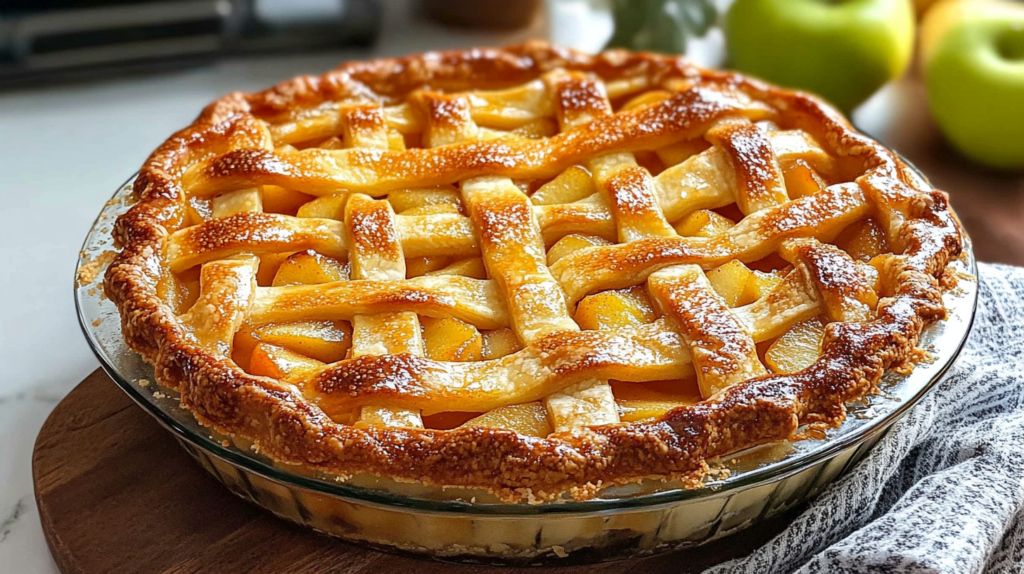
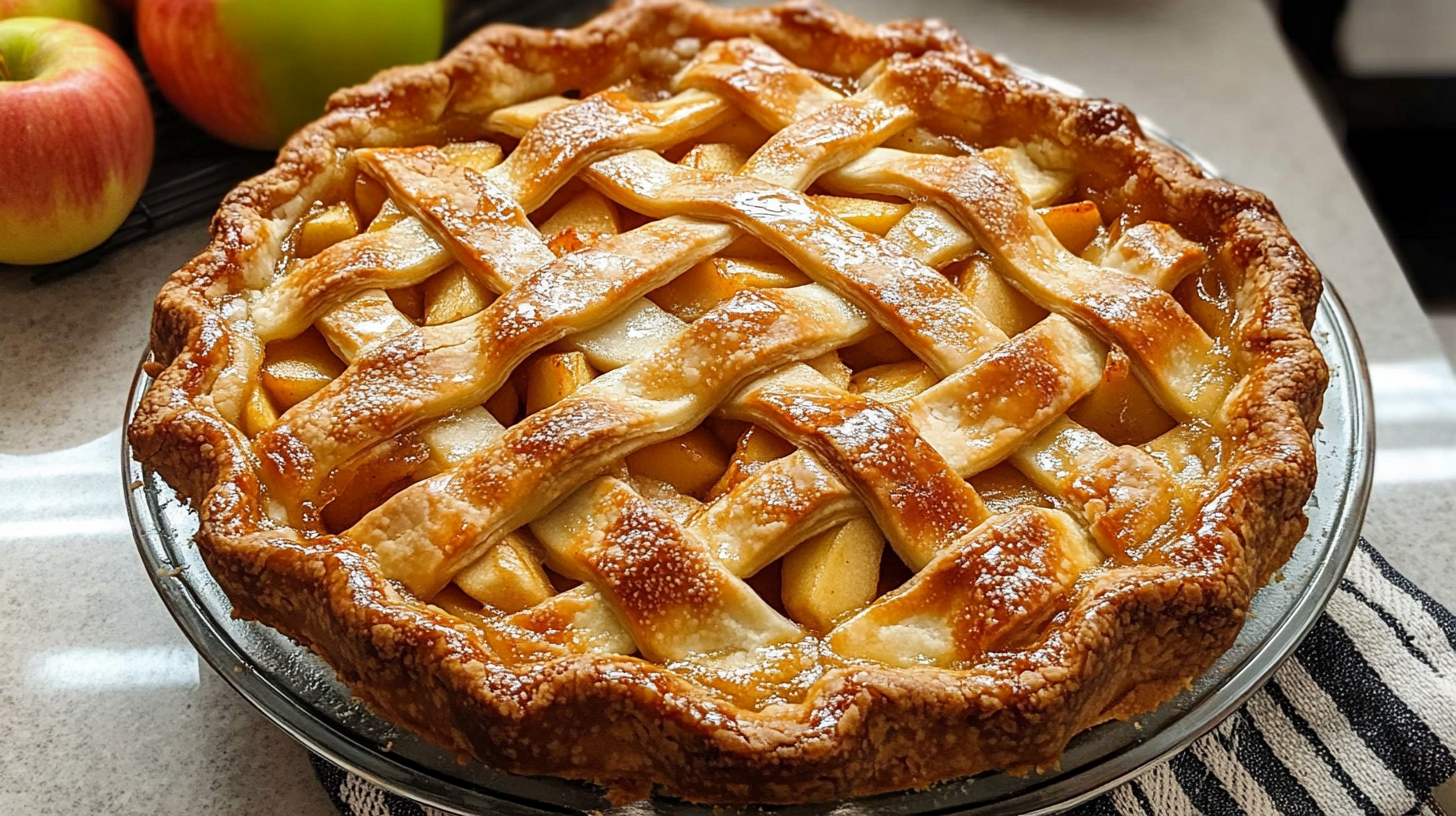
Apple pie is one of the most cherished desserts in the culinary world, often associated with warm family gatherings and comforting flavors. Known for its tender, flaky crust and juicy, spiced apple filling, this classic pie brings together simple ingredients for a dessert that’s both delicious and nostalgic. Whether you’re following a traditional recipe or adding your own twist, making an apple pie from scratch is a rewarding experience. In this guide, we’ll cover everything from selecting the best apples to perfecting the crust, giving you all the tools you need to create a perfect apple pie. Let’s start by exploring the key ingredients that make this timeless dessert so special.
Understanding the Ingredients
Choosing the Best Apples for Baking
Selecting the right apples is crucial for achieving the perfect apple pie flavor and texture. Here are some varieties that work especially well:
- Granny Smith: Known for their tartness and firm texture, Granny Smith apples hold up well during baking, preventing the filling from becoming too mushy.
- Honeycrisp: These apples are naturally sweet with a crisp texture, adding a nice balance to the tartness of Granny Smiths if you mix varieties.
- Jonagold: A blend of tart and sweet, Jonagold apples bring depth to the filling while maintaining a soft but not mushy texture.
For the best results, consider mixing apple types to balance flavors and textures, creating a well-rounded filling that’s both sweet and slightly tart.
Spices and Sweeteners for Flavor
Adding the right blend of spices and sweeteners is essential to create that classic apple pie flavor:
- Sugar: Granulated sugar or brown sugar both work, with brown sugar adding a caramel-like depth.
- Cinnamon: The star spice for apple pie, cinnamon adds warmth and pairs perfectly with apples.
- Nutmeg and Allspice: Adding a pinch of nutmeg or allspice provides a subtle spiciness, enhancing the flavor complexity without overpowering the filling.
- Lemon Juice: A squeeze of lemon juice brightens the filling, balancing the sweetness and preventing the apples from browning.
Crafting the Perfect Pie Crust
A good apple pie crust is both flaky and tender, providing a satisfying contrast to the soft apple filling. Here’s what goes into a classic pie crust:
- Flour: All-purpose flour is commonly used, offering a good balance for a sturdy yet tender crust.
- Butter: Cold, unsalted butter is essential for a flaky texture. Cut it into small cubes and mix it in carefully to create layers in the dough.
- Cold Water: Adding ice-cold water helps bind the dough without warming the butter, which keeps the crust flaky.
- Salt: A pinch of salt enhances the flavor and balances the sweetness of the filling.
With these quality ingredients, you’re ready to create a flavorful apple pie with a balanced filling and a perfectly flaky crust. In the next section, we’ll dive into the step-by-step process of preparing the pie crust from scratch.
Making the Perfect Pie Crust
Creating a flaky, tender crust is a skill that takes a bit of technique but yields delicious results. Here’s a step-by-step guide to help you craft the perfect apple pie crust from scratch.
Step-by-Step Guide to Pie Dough
- Combine Dry Ingredients: In a large bowl, mix 2 ½ cups of all-purpose flour with 1 teaspoon of salt. Stir well to distribute the salt evenly.
- Cut in Cold Butter: Add 1 cup of cold, cubed butter to the flour mixture. Using a pastry cutter or your fingertips, cut the butter into the flour until the mixture resembles coarse crumbs, with pea-sized pieces of butter visible throughout. These bits of butter will create pockets that make the crust flaky.
- Add Ice-Cold Water Gradually: Slowly drizzle 6–8 tablespoons of ice-cold water over the mixture, one tablespoon at a time. Gently mix with a fork until the dough starts to come together. Be careful not to overwork the dough, as this can make the crust tough.
- Form and Chill: Divide the dough in half, shape each half into a disk, and wrap in plastic wrap. Chill in the refrigerator for at least 30 minutes. Chilling allows the gluten to relax and firms up the butter, making the dough easier to roll out and helping it hold its shape during baking.
Rolling Out the Dough
- Lightly Flour the Surface: Dust your work surface with a small amount of flour to prevent sticking.
- Roll the Dough Evenly: Starting from the center, roll each disk outward, turning the dough a quarter turn after every few rolls. Roll the dough to about 1/8-inch thick and slightly larger than your pie dish.
- Transfer to the Pie Dish: Carefully lift the rolled dough and place it in the pie dish, pressing gently to fit the bottom and sides. Leave some overhang around the edges, which you’ll trim and crimp after adding the filling.
This basic pie crust technique provides a solid base for your apple pie, delivering a flaky and delicious texture that’s sure to impress. With the crust ready, we can move on to preparing the apple filling, where the flavors truly come together.
Preparing the Apple Filling
A flavorful apple filling is at the heart of every apple pie. The right combination of apples, spices, and sweeteners creates a balanced filling that’s both juicy and perfectly spiced.
Step-by-Step Apple Filling
- Peel and Slice the Apples: Start with about 6–7 cups of apples (around 6 large apples). Peel, core, and slice the apples evenly, about ¼-inch thick. Thicker slices retain more texture, while thinner slices can become too soft.
- Mix with Sugar and Spices: In a large bowl, combine the apple slices with ¾ cup granulated sugar (or a mix of granulated and brown sugar for added richness). Add 1 teaspoon cinnamon, ¼ teaspoon nutmeg, and a pinch of allspice, adjusting the spices to your taste.
- Add Lemon Juice and Thickener: Drizzle 1 tablespoon of lemon juice over the apples to brighten the flavor and prevent browning. To thicken the filling, sprinkle in 2 tablespoons of flour or cornstarch, stirring gently until all slices are coated.
Should You Pre-Cook the Filling?
There’s some debate over whether to pre-cook the apple filling. While it’s not strictly necessary, pre-cooking can help control the pie’s moisture and avoid a soggy crust. If you’d like to pre-cook:
- Heat in a Skillet: Place the apple mixture in a large skillet and cook over medium heat for about 5–7 minutes, stirring occasionally until the apples just begin to soften. This will help release some of the moisture.
- Cool Before Filling: Let the apples cool slightly before adding them to the pie crust to prevent melting the dough.
With the filling prepared, your apple pie is ready to be assembled. This mix of sweet, tart, and spiced apples will create a classic flavor profile, making every bite deliciously satisfying. Next, let’s move on to assembling and baking your apple pie to perfection.
Assembling the Apple Pie

Now that you have both the crust and filling prepared, it’s time to bring everything together. Assembling the pie correctly ensures even baking and beautiful presentation.
Layering the Filling
- Add the Apple Filling: Carefully spoon the apple mixture into the pie crust, creating an even layer. Try to arrange the apple slices evenly to avoid gaps, which helps the pie bake evenly.
- Add Butter for Extra Richness (optional): For an extra touch of flavor, dot the apple filling with small pieces of butter (about 1–2 tablespoons). This will melt as the pie bakes, adding richness to the filling.
Top Crust Options
There are a few ways to finish the top crust of your apple pie. Here are some popular options:
- Traditional Full Crust: Roll out the second disk of dough and carefully place it over the filling. Trim any excess dough around the edges, leaving about a ½-inch overhang. Fold the edges under and crimp with your fingers or a fork.
- Lattice Crust: For a more decorative look, cut the rolled dough into strips about 1 inch wide. Lay half of the strips over the filling, then weave the remaining strips perpendicular to create a lattice pattern.
- Crumb Topping: If you prefer, you can skip the top crust altogether and use a crumb topping (like a mixture of flour, brown sugar, and butter). This transforms your apple pie into a Dutch-style pie.
Sealing and Crimping the Edges
Once you’ve chosen your top crust, it’s time to seal and crimp the edges.
- Trim and Fold the Edges: Trim the edges of both crusts to about ½ inch beyond the pie dish edge. Fold the overhanging dough under itself for a thicker edge.
- Crimp or Flute: Use your fingers or a fork to crimp the edges. This step not only makes the pie look beautiful but also prevents the filling from bubbling out.
Cutting Vents
If using a full top crust, remember to cut a few slits in the center to allow steam to escape. This prevents the crust from puffing up and keeps the filling from becoming too watery. You can create simple slits or get creative with decorative shapes.
With your pie assembled, it’s time to bake! Following these steps will help ensure a well-structured pie with a delicious balance of flaky crust and juicy filling. Let’s move on to the baking process and tips to achieve a golden-brown crust and a perfectly set filling.

